
This section explains how to create a new virtual machine (VM) on a shared disk and attach it. If using an existing VM, proceed to step 3, “Create and attach a new disk”, and attach it to the existing VM in step 4. This will allow you to edit the existing VM instead of adding a new VM. “SCSI-3 Persistent Reservations (SCSI3) Recovery Kit” is needed for the step 7. Add the Recovery Kit by updating the installer if needed.
- Create Storage Account
- Create a new resource group


- Create a VM in the Resource group: ShareStorageSLES

- Create a new disk that is shared by selecting Create and attach a new disk.

Select “Enable shared disk” and specify max shares. This will be a 2-node cluster, only 2 max shares are needed.

- Create a second VM in the same resource group in the same zone. Instead of selecting “Create and attach a new disk” select “Attach an existing disk”.


Select the disk created in step 3.

- Login to the primary node (“test-cluster-sles15-1”) via SSH, then format the disk.

- Download/transfer LifeKeeper and the temporary license keys.

- Install LifeKeeper
- Notice the SCSI3 Recovery Kit is automatically selected.

- Setup communication paths.

- Partition the shared disk on the test-cluster-sles15-1.

a. Cause the test-cluster-sles15-2 to update the partition table.

- Create a file system on the partition.

- Create file system resource.

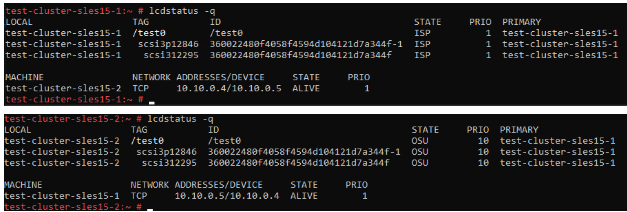
- Extend to the second node.
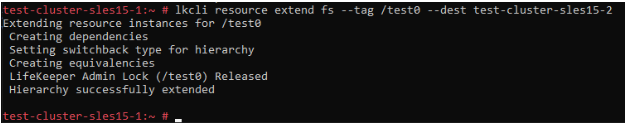
- Done
Post your comment on this topic.