
As discussed in How Does Data Replication between Nodes Work, DataKeeper creates a NetRAID Device which works as RAID1 device.
This guide uses the following parameters as examples. Replace these parameters based on the local environment that DataKeeper is being installed on.
| Disk Device Name for Replication | /dev/xvdb (the second storage device attached) Note: The Storage Device name may vary based on your environment. |
| Mount point | /datakeeper |
- See one the following topics to prepare a disk for replication.
- How to Prepare Disks for Replication on AWS
- How to Prepare Disks for Replication on Azure
- How to Prepare Disks for Replication on Google Cloud
- Mount the disk on the primary node (node-a).
![]() Be sure to check the name of the storage device to mount (such as /dev/xvdb1 or /dev/sdc1).
Be sure to check the name of the storage device to mount (such as /dev/xvdb1 or /dev/sdc1).

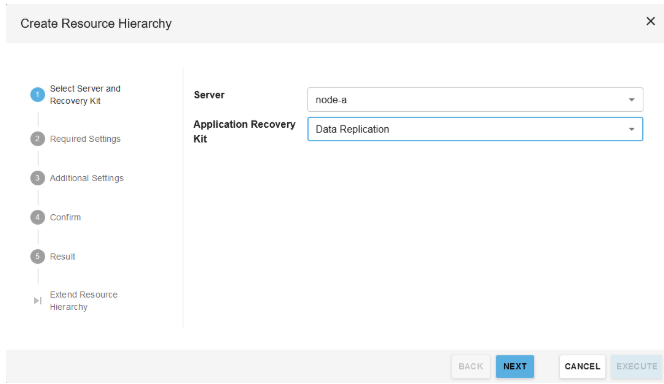
- On the LifeKeeper User Interface, define a new resource. Select “Operations” dropdown and click “Create Resource Hierarchy”
- For the server, select “node-a” and for the Application Recovery Kit, select “Data Replication”. Then click “Next”.
- For the “Hierarchy Type”, select “Replicate New File System. Select the source disk partition to be used, the desired mount point, and the file system type.

| Hierarchy Type | “Replicate New File System” Note: This will erase all data on the source and target disks of the mirror. If you are choosing to replicate an existing filesystem, select “Replicate Existing FileSystem” |
| Source Disk | /dev/xdvb1 |
| New Mount Point | /datakeeper |
| New File System Type | ext3 |
- Enter the following values. Select the default values.
*Note: For items with a checkmark ( ![]() ) review the default values and use the value suggested.
) review the default values and use the value suggested.
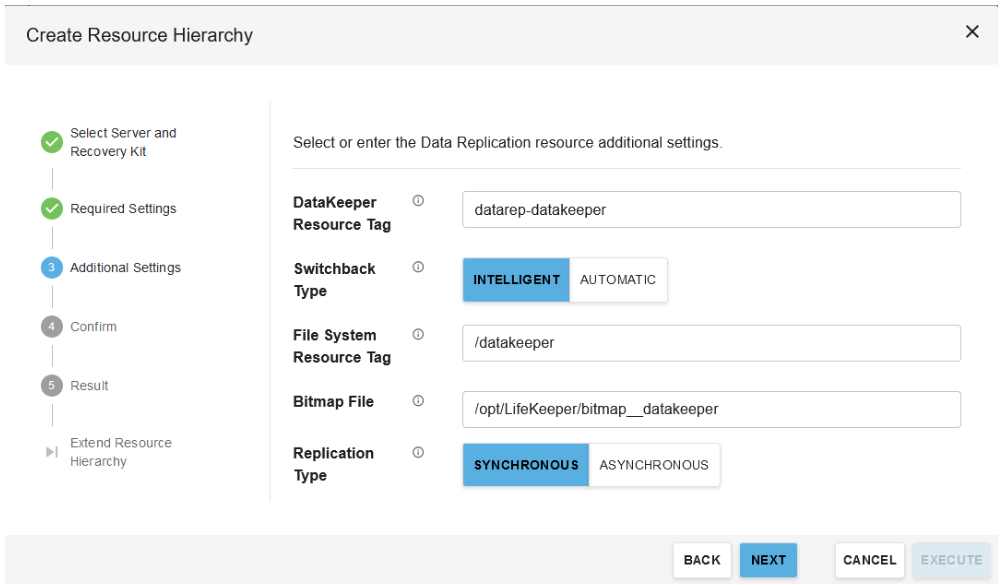
| DataKeeper Resource Tag | datarep-datakeeper |
| Switchback Type | intelligent |
| File System Resource Tag | /datakeeper |
| Bitmap File | /opt/LifeKeeper/bitmap__datakeeper |
| Replication Type | Synchronous |
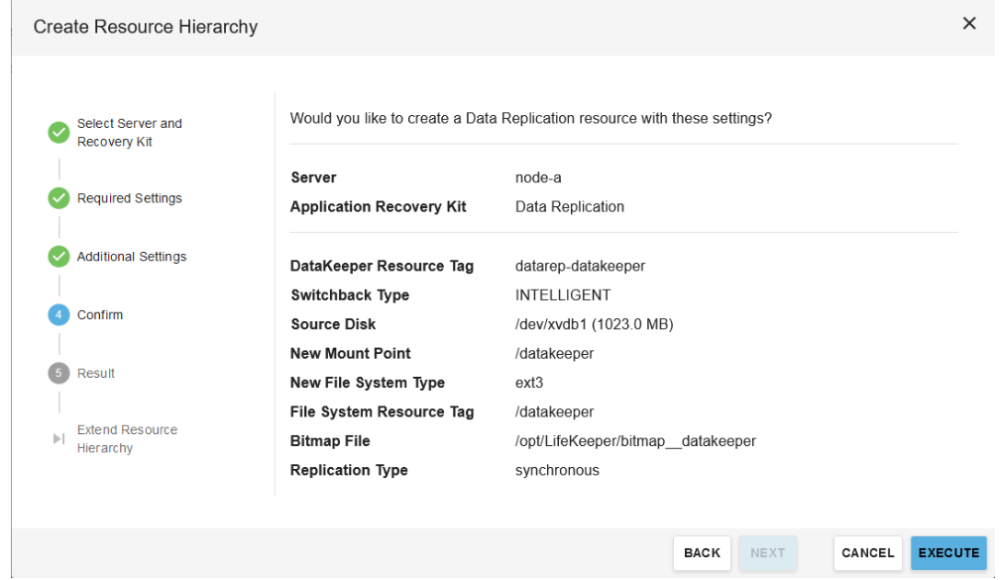
- Review the selected options, and when ready click “Execute”
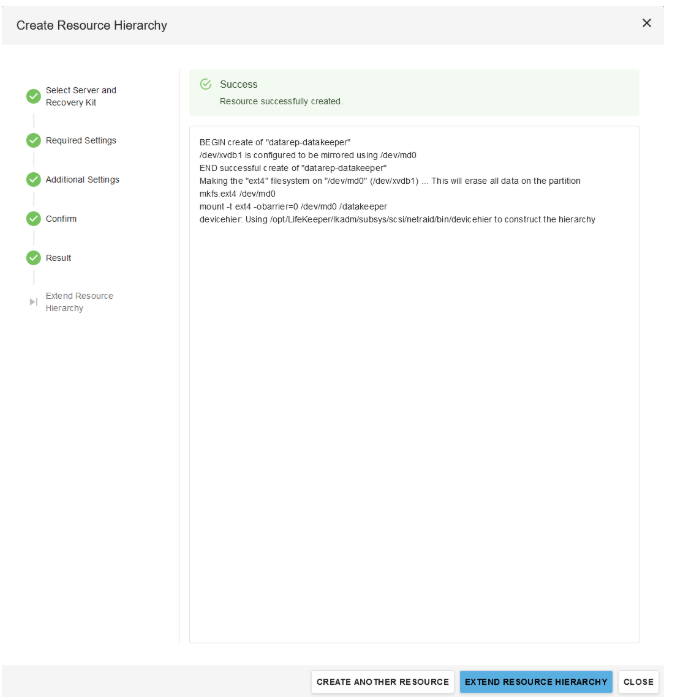
- Once resource creation has completed, select “Extend Resource Hierarchy”
- Enter the following values in the fields. Select the default values. Then click next.
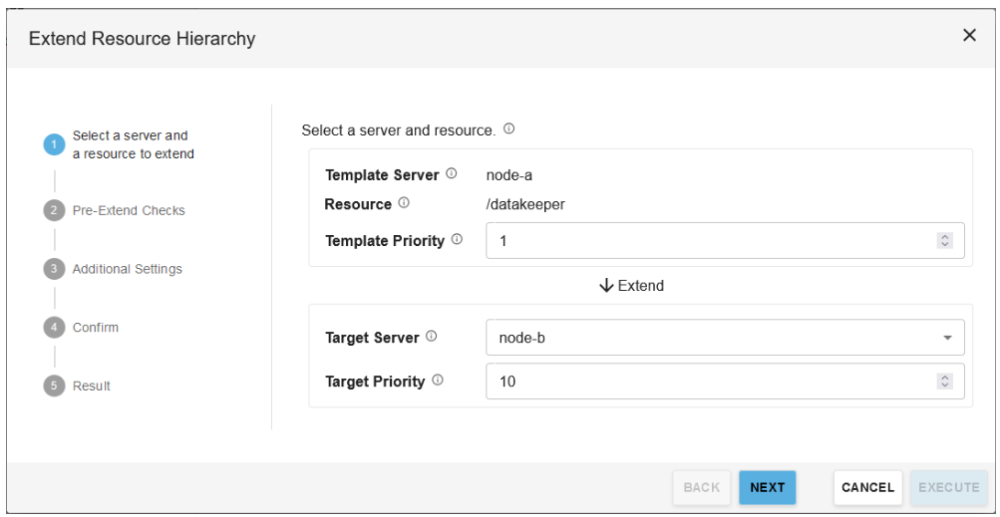
| Template Server | node-a |
| Resource | /datakeeper |
| Template Priority | 1 |
| Target Server | node-b |
| Target Priority | 10 |
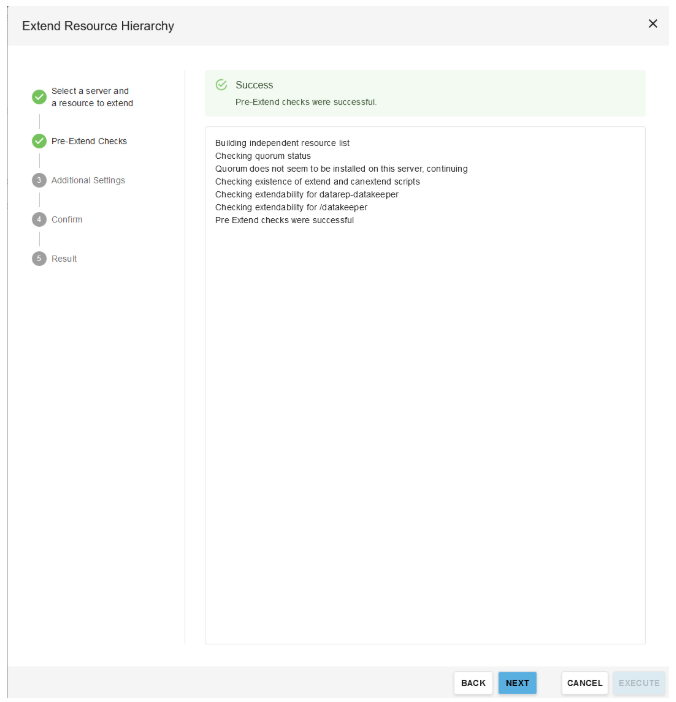
- Once Pre-Extend checks have completed, click “Next”
- When prompted with the “Additional Settings” stage of resource extension, select the “Resource: datarep-datakeeper” dropdown, and enter the following values. Then click “Next”.
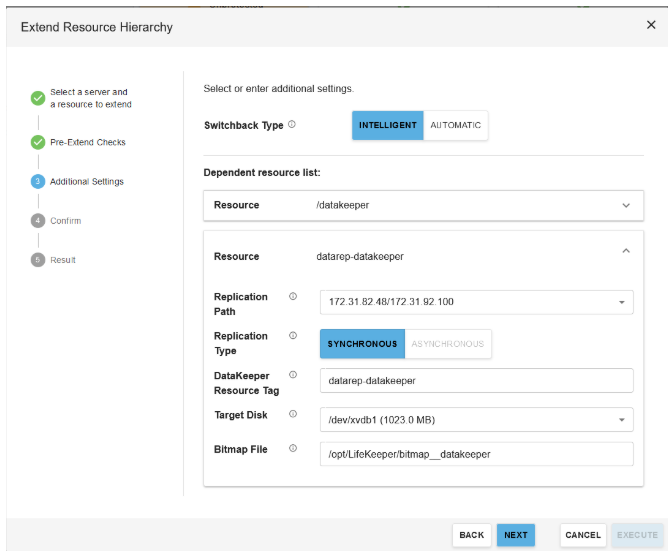
| Switchback Type | Intelligent |
| Resource | datarep-datakeeper |
| Replication Path | 172.31.82.48/172.31.92.100 (Note, this communication path will be unique to the IPs assigned to your cluster nodes. The value above applies the lab cluster used in this guide only) |
| Replication Type | Synchronous |
| DataKeeper Resource Tag | datarep-datakeeper |
| Target Disk | /dev/xvdb1 (Note, this disk pertains to the lab environment used in this guide. Select the appropriate target disk for your environment) |
| Bitmap File | /opt/LifeKeeper/bitmap__datakeeper |
- Review the selected options. When ready, click “Execute”
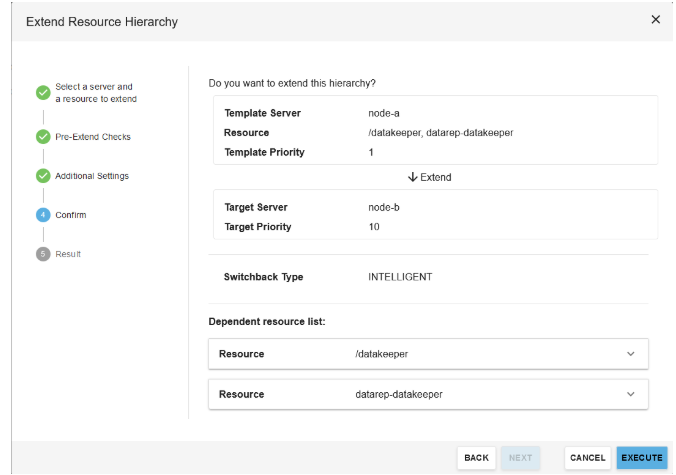
- Once the ‘Extend Wizard’ successfully completes, select “Close”.
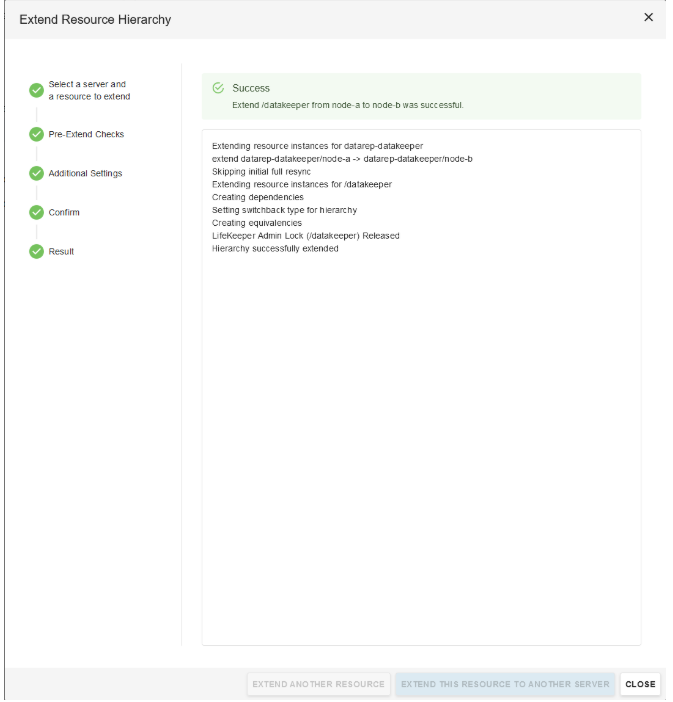
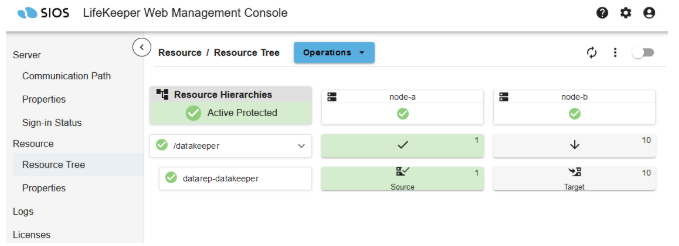
Now the disk is configured to replicate the data. If you are replicating an existing filesystem, you may see the target in a “resyncing” state. A full initial sync of the data is required when replicating existing filesystems, and is automatically being performed. Once the data is synced, the label will change to “Target”.
Post your comment on this topic.