
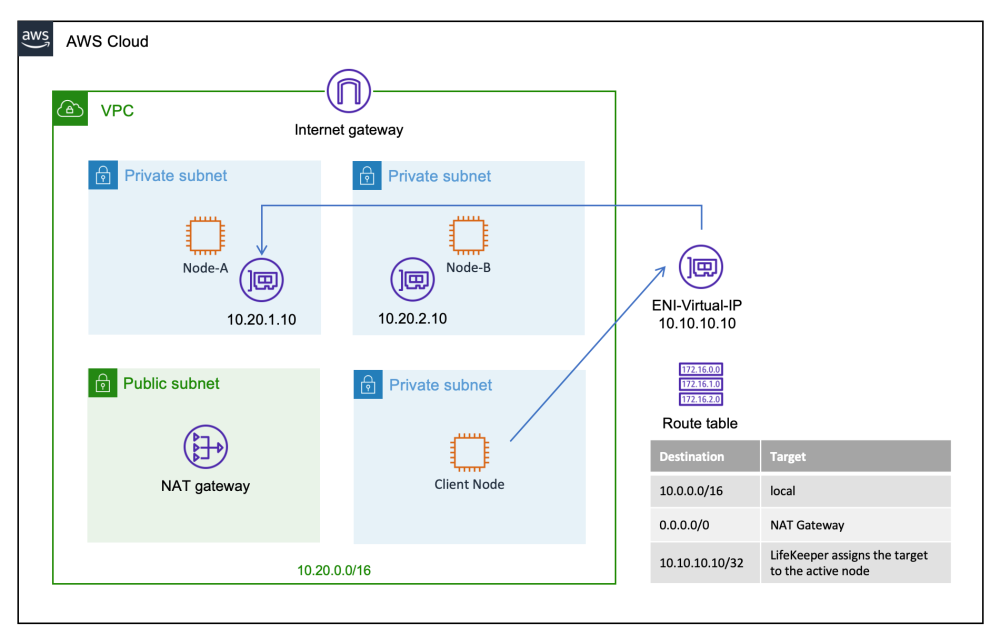
Here we will discuss how the Route Table can be used to switch between nodes by creating an entry in the Route Table that points to the active node.
Create an IP Resource
Now you can create an IP resource. Note that the IP address of the resource must be located outside of the VPC. In this example, the IP resource is created using 10.10.10.10 (the VPC is defined as 10.20.0.0/16). Refer to Creating an IP Resource for more information.
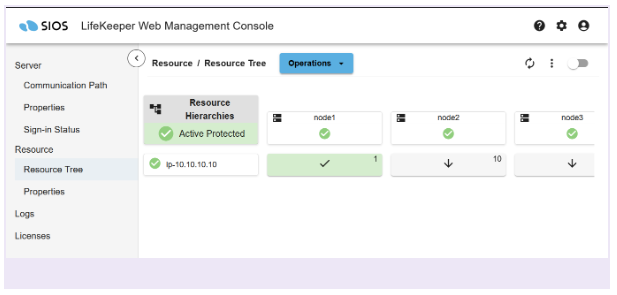
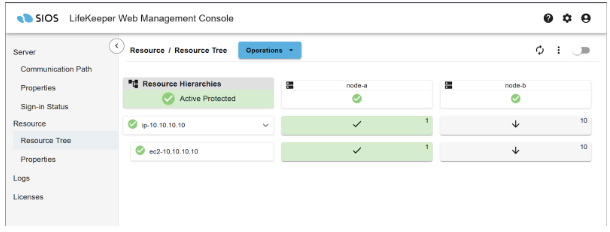
Once the IP resource has been created, the LifeKeeper User Interface should look like this.
Assign Permission to Update Route Table Entries to Instances
Add Initial Route Table Entry for the Primary Host
Before creating the EC2 resource, we must first add the initial route to the route table for LK-VPC (i.e., LK-RouteTable).
- In the AWS Console, navigate to Services → VPC → Route Tables, click the route table associated with LK-VPC (LK-RouteTable), click the Routes tab, then click Edit Routes.
- In the resulting dialog, add a new route with the following parameters:
| Destination | 10.10.10.10/32 |
| Target | Select ‘Instance’, then select the instance ID for Node-A |
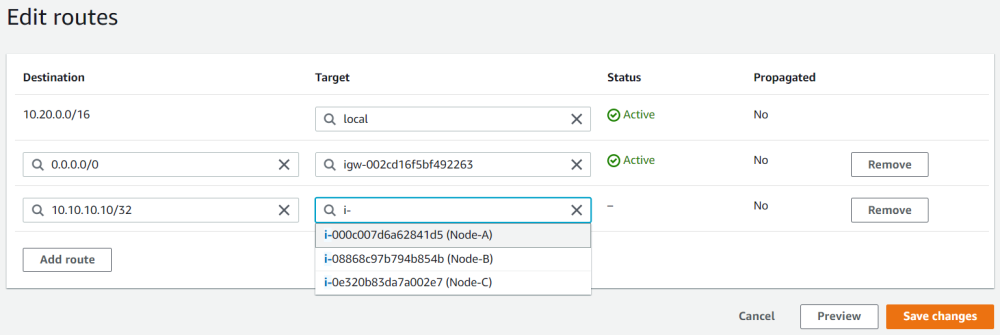
- Click Save changes to add the route to the route table.
Creating an EC2 Resource (Route Table Scenario)
Creating an EC2 Resource should be straightforward once an IP Resource has been created.
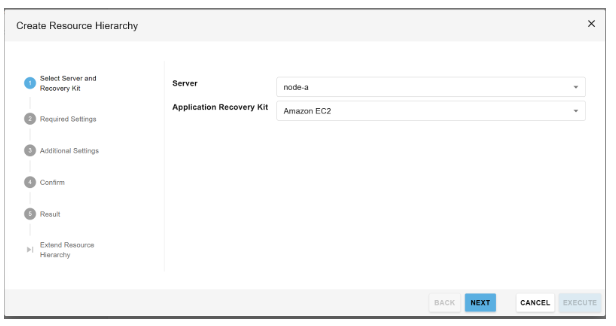
- Select the “Operations” dropdown and click “Create Resource Hierarchy”
- Select “node-a” as the server and “Amazon EC2” as the Application Recovery Kit. Then click “NEXT”.
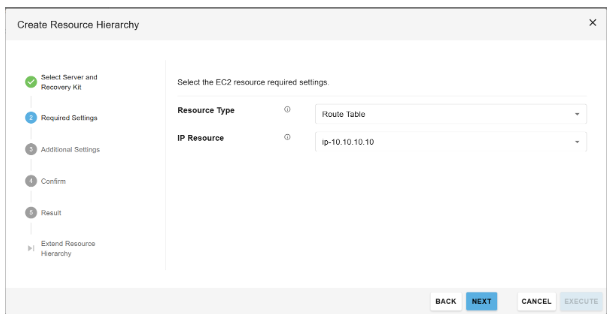
- For the “Resource Type” selection, choose “Route Table”. Select the existing virtual IP resource as well. Then click “NEXT”.
- On the “Additional Settings” stage, select the following options. Then click “NEXT”.
*Note: For items with a checkmark ( ![]() ) review the default value and use the value suggested.
) review the default value and use the value suggested.
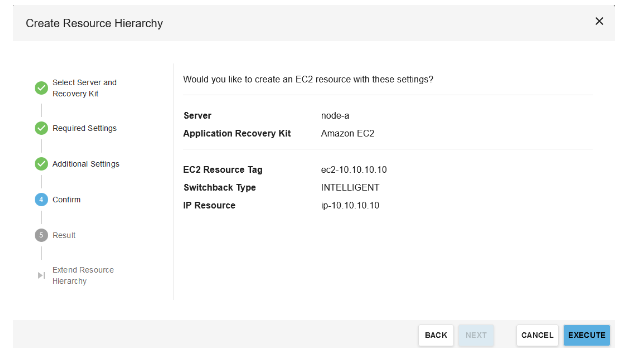
| EC2 Resource Tag | ec2-10.10.10.10 |
| Switchback Type | Intelligent |
- Review the configured settings, then click “Execute”.
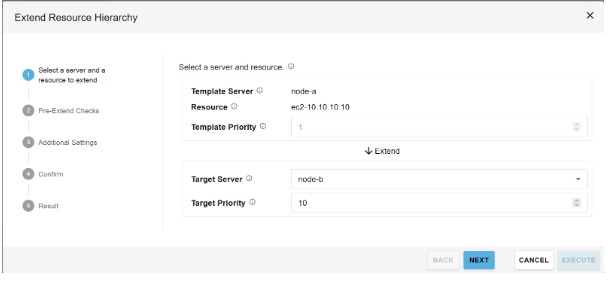
- After the resource has been created, click the “Extend Resource Hierarchy” button. You will then be prompted to select the target server and target priorities.
| Target Server | node-b |
| Target Priority | 10 |
- Once Pre-Extend checks are completed, click ““NEXT”.
- In the “Additional Settings” stage, select “Intelligent” for Switchback Type and the ec2 resource created in steps 1-5. Then click ““NEXT”.
| Switchback Type | Intelligent |
| Resource | ec2-10.10.10.10 |

- Review and confirm the options displayed, and when ready click “Execute”.
- The EC2 resource is created as shown below.
Post your comment on this topic.