
The first resource to be created on LifeKeeper should be an IP resource. As discussed earlier, a client can find the Active Node using a Virtual IP Address. Below is the list of IP addresses that are referenced in this section.
IP Addresses for Nodes
| (node-a) | 10.20.1.10 |
| (node-b) | 10.20.2.10 |
IP Address for the IP Resource Based on the Scenario
In a cloud environment, please review Switching between Nodes in a Cloud Environment to identify the most applicable scenario before selecting an IP address.
| How to Select an IP Address | Sample IP Addresses Used in this Guide | Default Name of the IP Address | ||
|---|---|---|---|---|
| AWS | Route Table Scenario | IP address that is outside of the VPC CIDR | 10.10.10.10 | ip-10.10.10.10 |
| Route 53 Scenario | IP address that is assigned to the “active” node | 10.20.1.10 | realip | |
| Elastic IP Scenario |  Not required to create an IP Resource. Skip this page. Not required to create an IP Resource. Skip this page. |
|||
| Google Cloud | ||||
| Azure | An available IP address on the subnet | 10.20.0.10 | ip-10.20.0.10 | |
| On-premise environment | ||||
Configure an IP Resource
This example uses 10.10.10.10 as the IP address to be used for “Route Table Scenario“ in AWS.
1. Click the “Operations” dropdown and select “Create Resource Hierarchy”
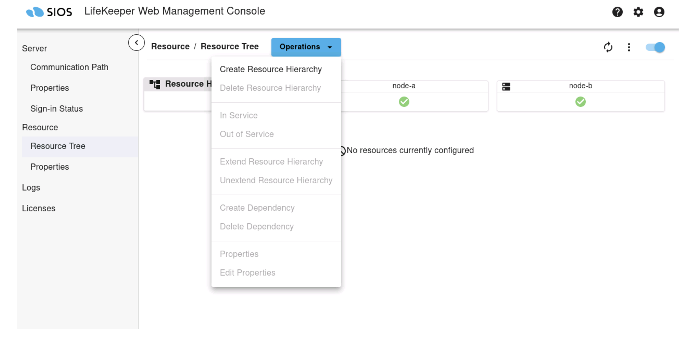
- The Create Resource Wizard (on node-a) will be displayed and the type of resource to be protected can be selected. Select “IP” and then click “Next>”.
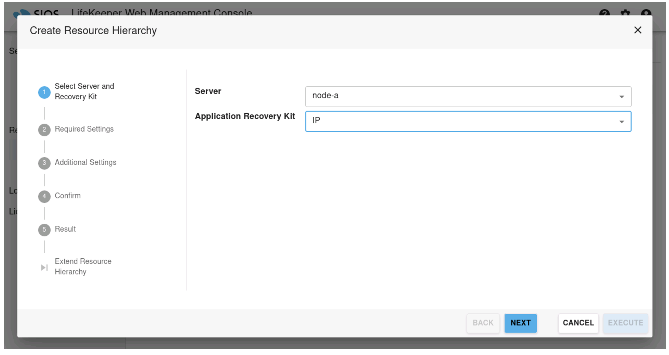
- Select the default values. The only field you need to enter is the virtual IP address 10.10.10.10 in the IP Resource field.
*Note: For items with a checkmark ( ![]() ), review and use the default values.
), review and use the default values.
| Switchback Type | Intelligent |
| Server | node-a |
| IP Resource | 10.10.10.10 |
| Net Mask | 255.255.255.0 Note: This value may vary based on the network. The CIDR Range/netmask for the IP resource cannot be larger than the CIDR range/Netmask used on the NIC that is holding the IP resource. |
| Network Interface | eth0 |
| IP Resource Tag | ip-10.10.10.10 |
Values such as Net Mask are displayed based on how the local system is configured. Therefore the default values seen may vary.
- If you receive an error message here, in an elevated terminal take the following steps:
- Run cat /etc/default/LifeKeeper.
- Scroll until you see NOBCASTPING.
- This by default is NOBCASTPING=0.
- If it is not run vim /etc/default/LifeKeeper.
- Set this to NOBCASTPING=1.
- Save + quit and retry this step.

- Once you confirm the resource is successfully created, click “Next>”.
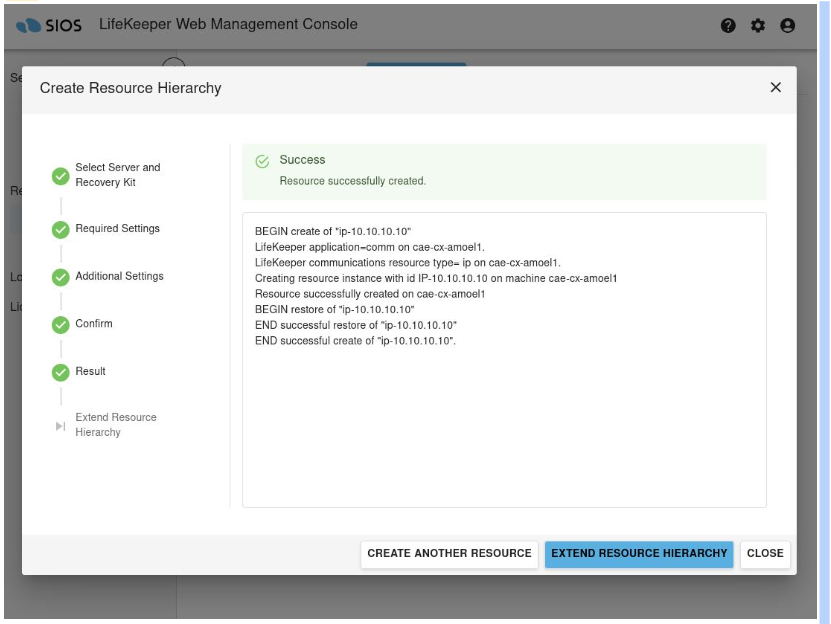
- The next step is the “Extend Resource Hierarchy Wizard (on node-a)”.
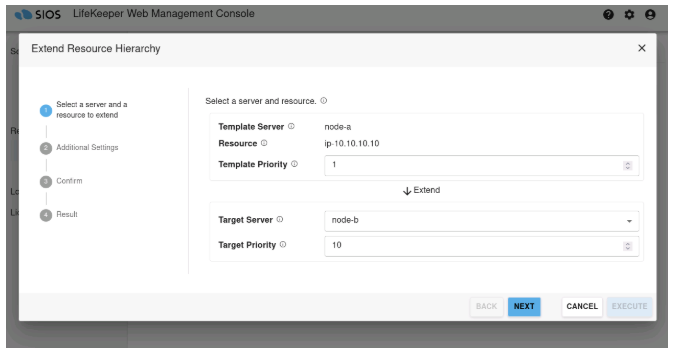
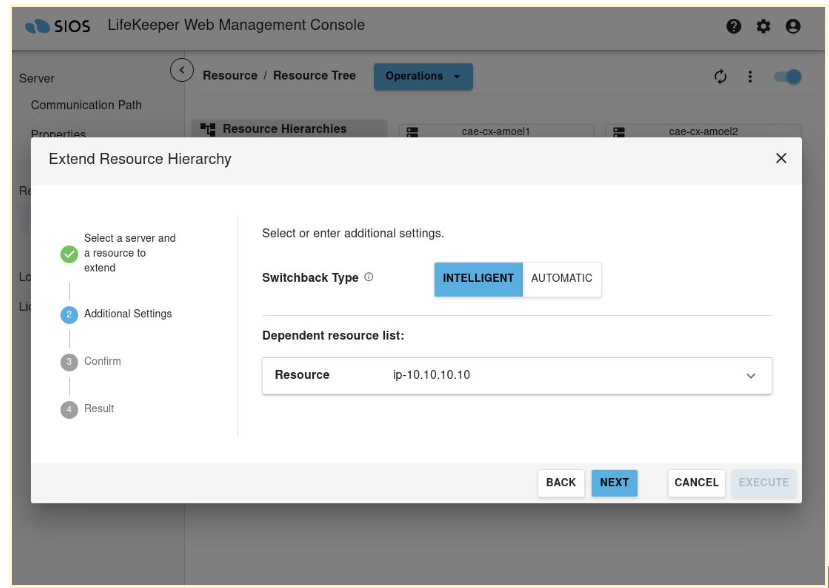
Select all of the defaults as shown below if not automatically generated.
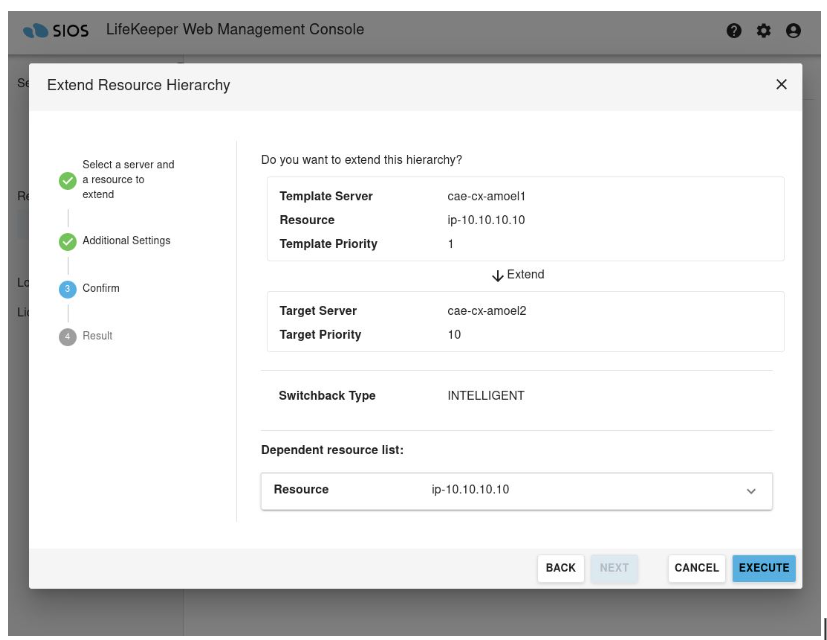
| Target Server | node-b |
| Switchback Type | Intelligent |
| Template Priority | 1 |
| Target Priority | 10 |
The Extend check should be successfully inputted. Click “Execute”.
Confirm the success of the Resource Hierarchy Extension.
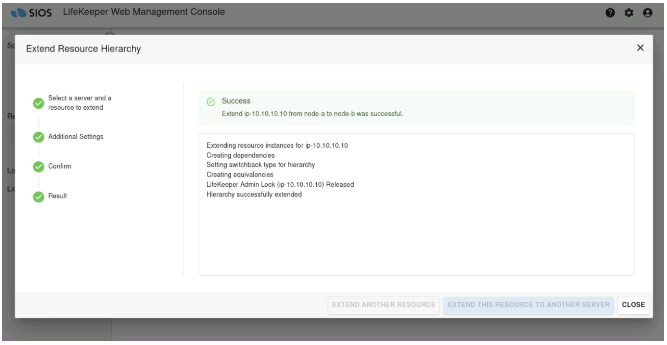
- The verification is now complete and the wizard can be closed.
- The IP Resource (ip-10.10.10.10) will be displayed on the LifeKeeper User Interface.
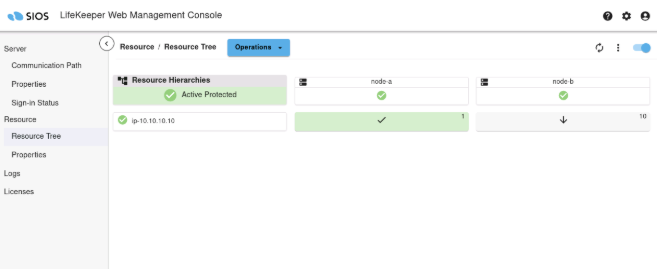
As we have seen, resources may be easily protected by answering the questions in the resource creation wizard. Most of the values are pre-populated based on an understanding of the environment and therefore minimal user interaction is required.
Post your comment on this topic.