
Oracle や PostgreSQL のデータ格納領域となる Block Volume を作成し、クラスターノードにアタッチします。
Block Volume の作成
sios20-node1 用と sios20-node2 用に 2つ作成します。
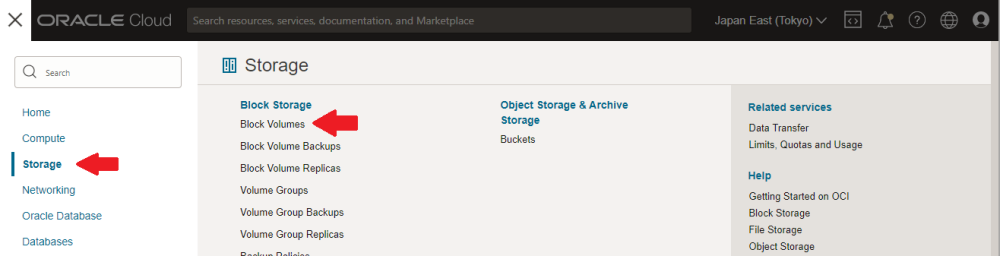
- [≡] > [Storage] > [Block Volumes] を選択します。
![]()
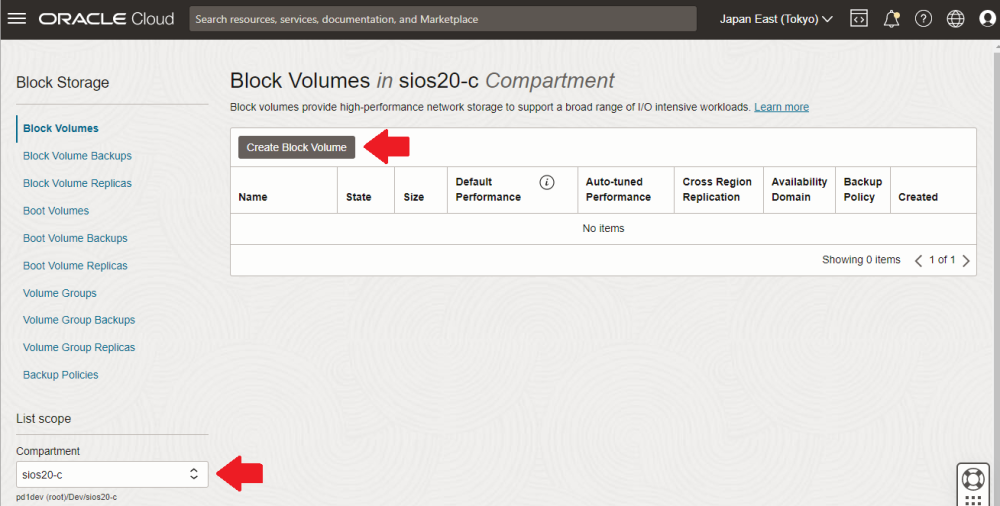
- [Compartment] で sios20-c を選択し、[Create Block Volume] をクリックします。
![]()
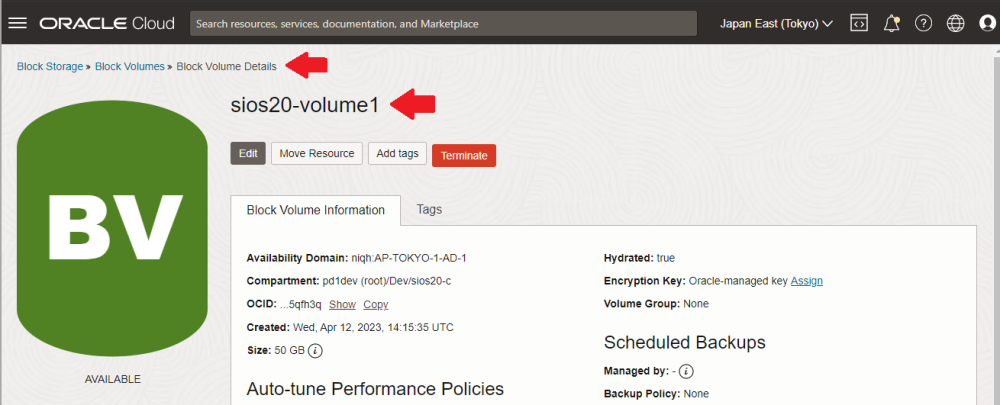
- 表示された入力フォームで次のように設定値を入力し、Block Volume を sios20-node1 用と sios20-node2 用で 2 つ作成します。
| 入力項目名 | 設定値 | |
|---|---|---|
| sios20-node1 | sios20-node2 | |
| Name | sios20-volume1 | sios20-volume2 |
| Create In Compartment | sios20-c | |
| Availability Domain | niqh:AP-TOKYO-1-AD-1 (デフォルト) | |
| Volume Size and Performance | ||
| Default / Custom | Custom (*1) | |
| Volume Size | 50 (*1) | |
| Target Volume Performance | 全てデフォルト | |
| Backup Policies | ||
| Select Backup Policy | No Backup Policy Selected | |
| Cross Region Replication | ||
| ON / OFF | OFF | |
| Encryption | Encrypt using Oracle-managed keys | |
| View detail page after this block volume is created | 有効 | |
*1 : 検証用のため、Custom を選択して指定可能な最小サイズ 50 GB を指定しています。(Default はサイズが 1024 GB になってしまうため)
Block Volume のアタッチ
前項で作成した Block Volume を、sios20-node1 及び sios20-node2 の両クラスターノードにそれぞれアタッチします。
- sios20-volume1 (または sios20-volume2) の詳細ページにて [Attached Instances] > [Attach to Instance] をクリックします。
![]()
![]()

- 表示された入力フォームで次のように設定値を入力し、各 Block Volume をそれぞれ sios20-node1 と sios20-node2 にアタッチします。
| 入力項目名 | 設定値 | |
|---|---|---|
| sios20-volume1 | sios20-volume2 | |
| Attachment Type | Paravirtualized (*1) | |
| Access Type | Read/Write | |
| Instance | ||
| Select Instance / Enter Instance OCID | Select Instance | |
| Choose instance | sios20-node1 | sios20-node2 |
*1 : iSCSI を指定することも可能ですが、クラスターノード側での iSCSI イニシエーターの設定等が必要になります。本ガイドでは紹介しません。
このトピックへフィードバック