
Install DataKeeper Cluster Edition
Before you can proceed with the next steps, you must install DataKeeper Cluster Edition on SQL1 and SQL2. Download the setup executable and run the DataKeeper setup on both nodes. Refer to the SIOS documentation for specific guidance on the installation.
Create the DataKeeper Volume Resource
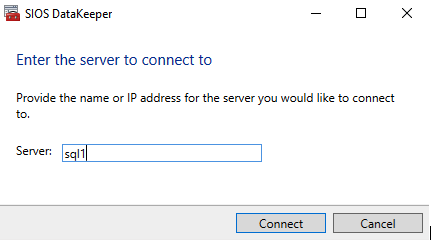
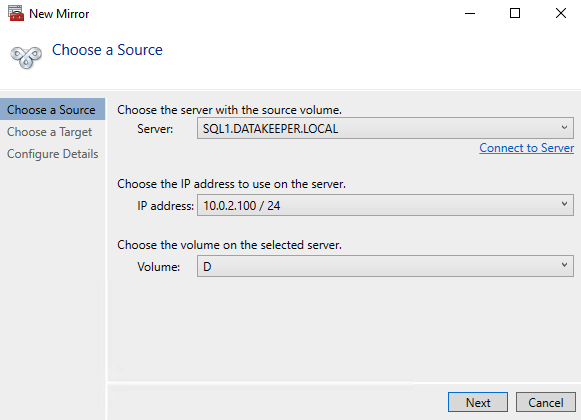
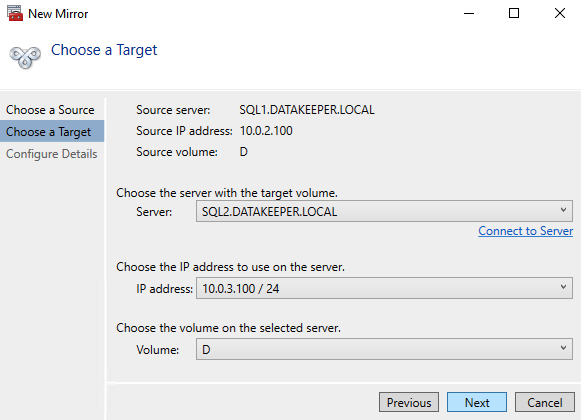
Launch the DataKeeper UI on either of the cluster nodes and create your DataKeeper Volume Resource as shown below.
Connect to both servers, first SQL1 and then SQL2
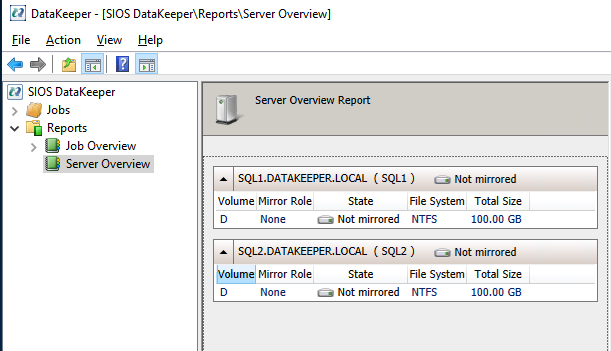
If you have connected to both servers and the storage is configured properly, the Server Overview Report should look something like this.
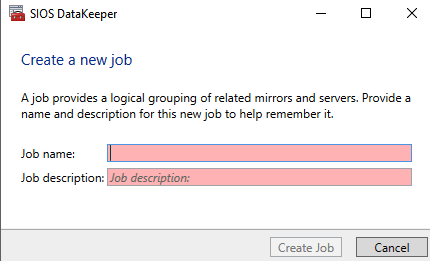
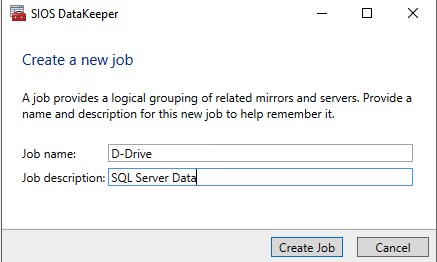
Click Create Job to start the Job Creation Wizard.
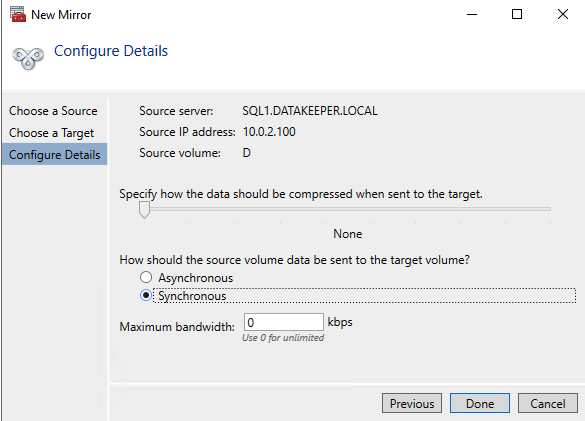
DataKeeper supports both synchronous and asynchronous replication. For replication between availability zones in the same region, choose synchronous. If you want to replicate across regions or cloud providers, choose asynchronous.
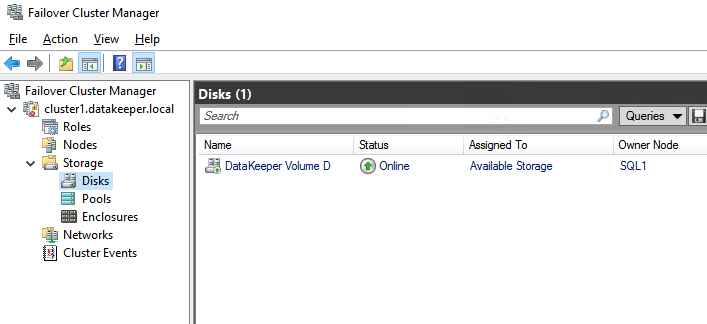
Click “Yes” here to register the DataKeeper Volume resource in Available Storage in the cluster.
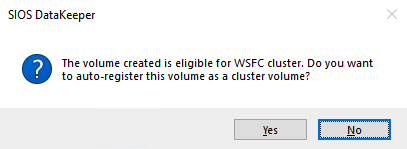
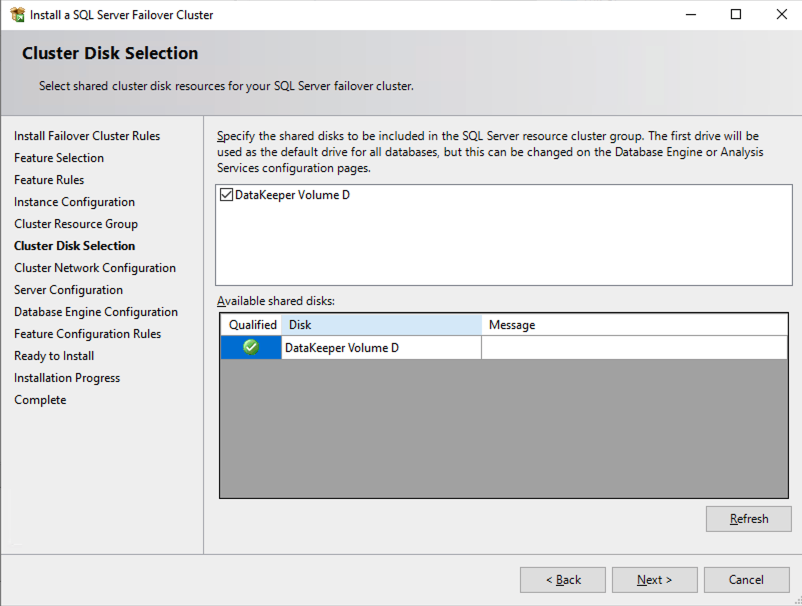
The DataKeeper Volume D now appears in Failover Cluster Manager in Available Storage.
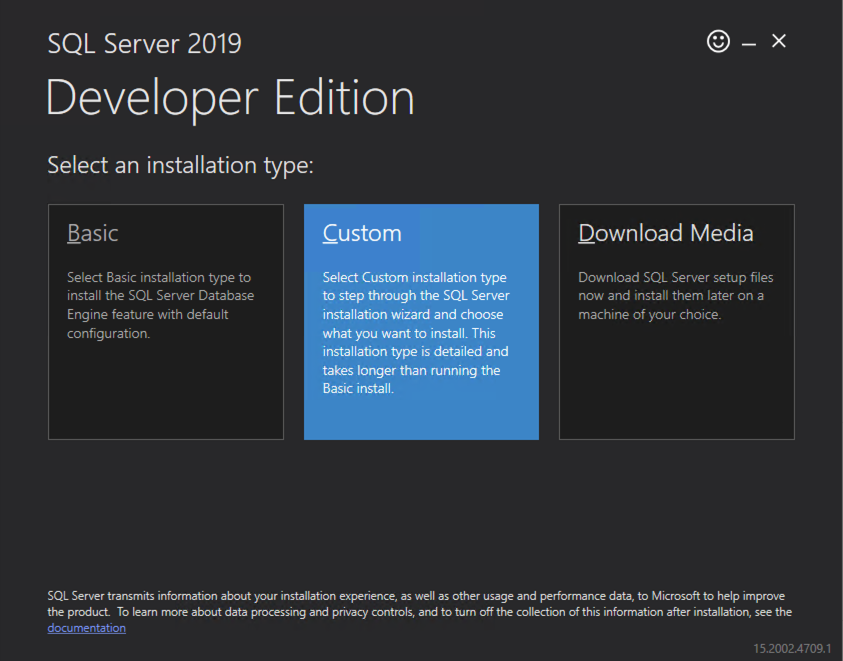
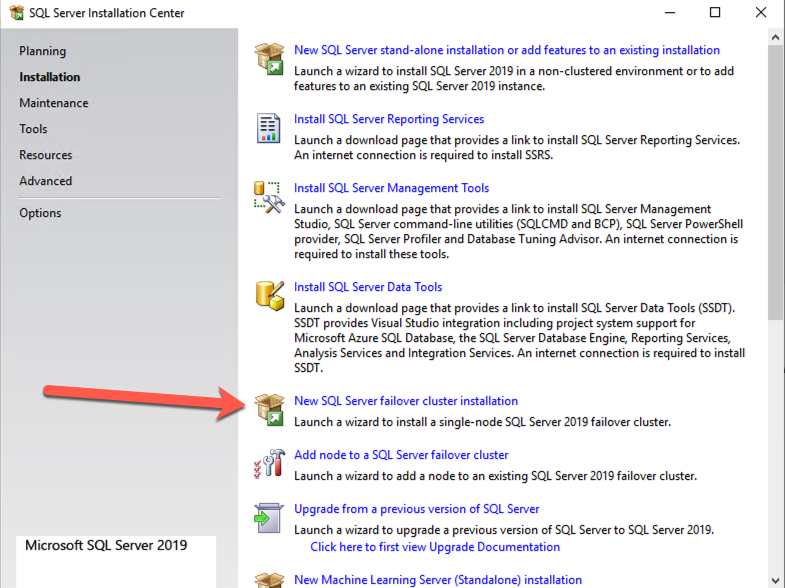
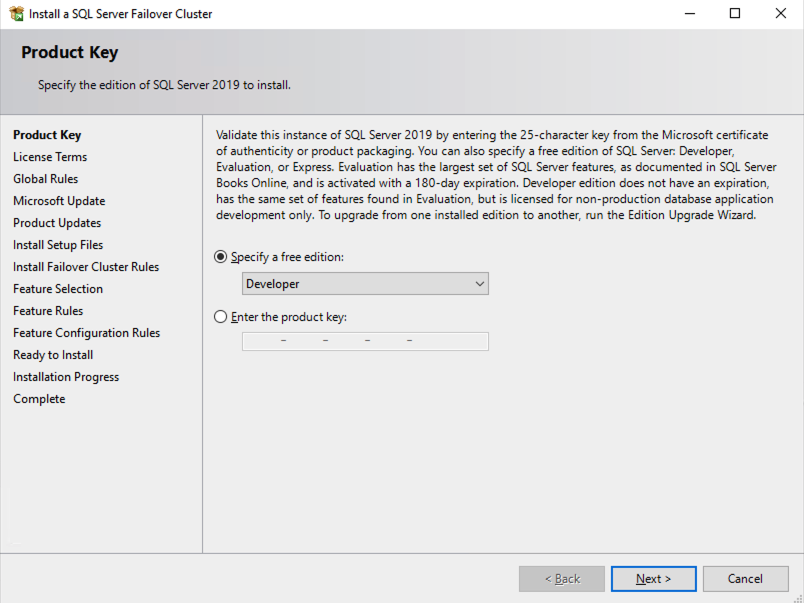
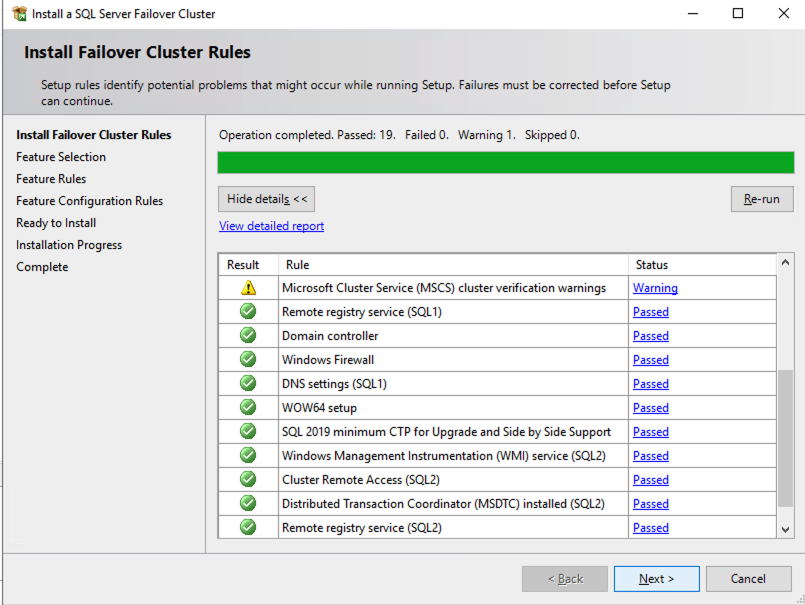
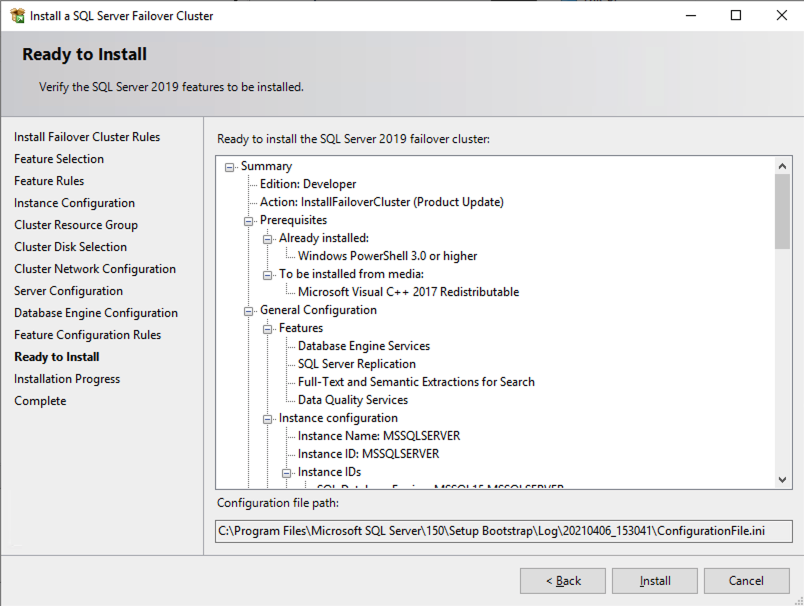
Install the First Node of the SQL Server FCI on SQL1
Now that the core cluster has been created and the DataKeeper volume resource is in Available Storage, it is time to install SQL Server on the first cluster node. As mentioned earlier, the example here illustrates a cluster configuration using SQL 2019 and Windows 2022, but all the steps described in this example are virtually identical, regardless of which version of Windows Server or SQL Server you are trying to deploy.
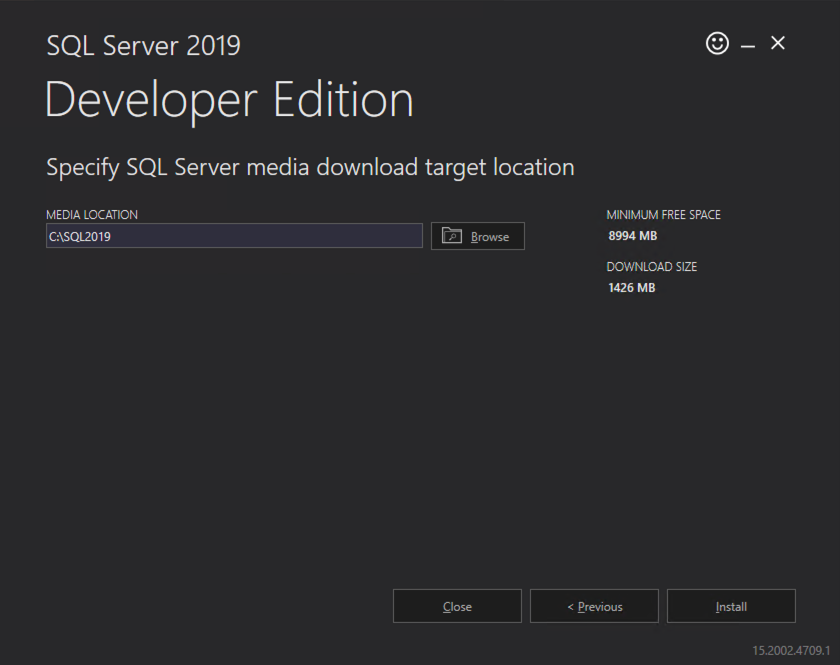
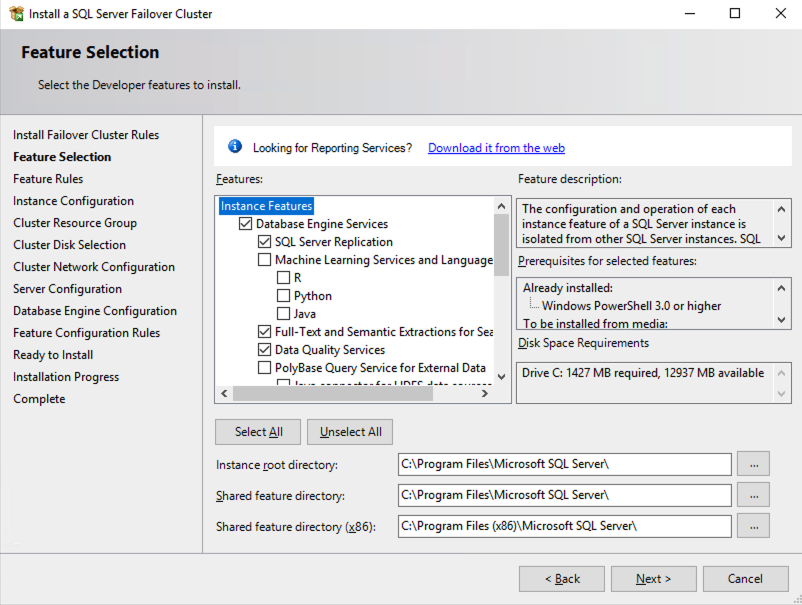
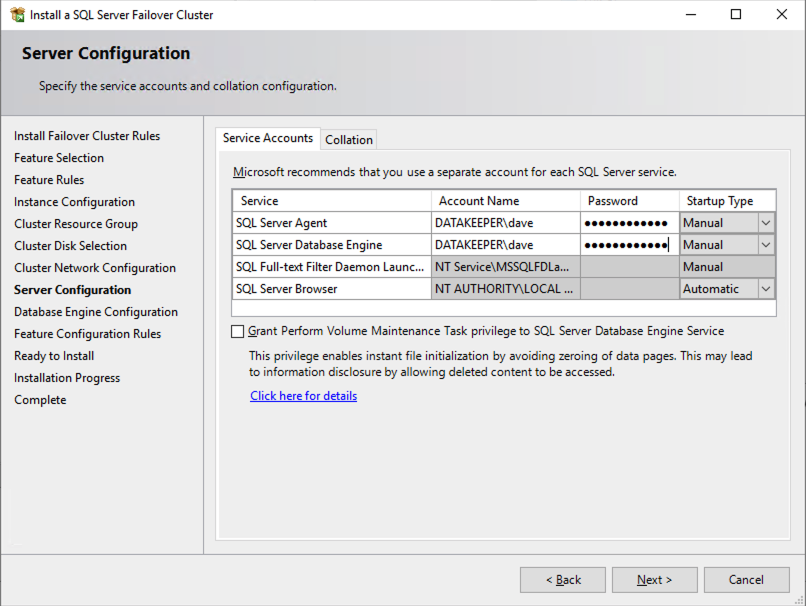
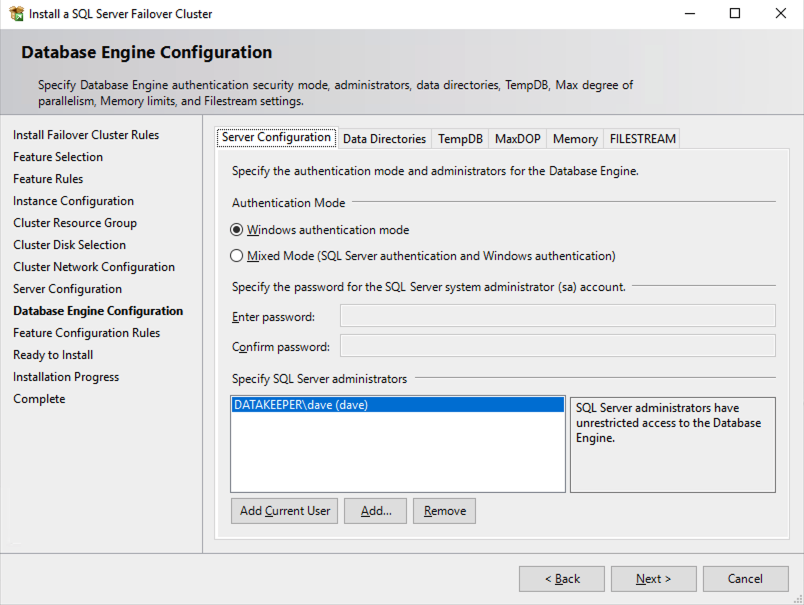
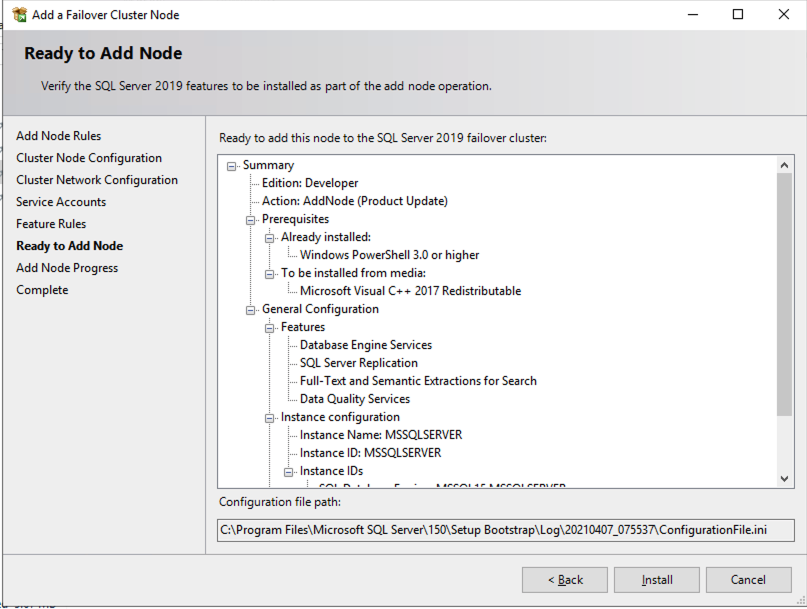
Follow the example below to install SQL Server on SQL1.
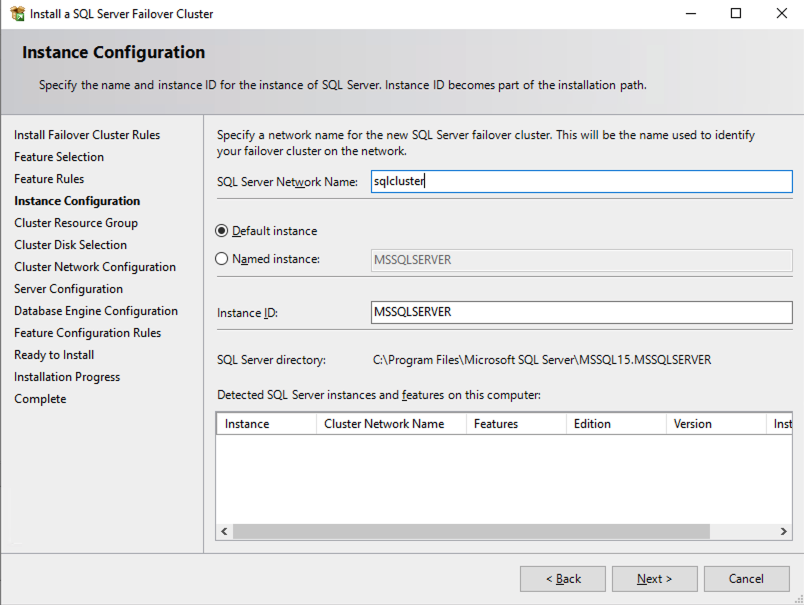
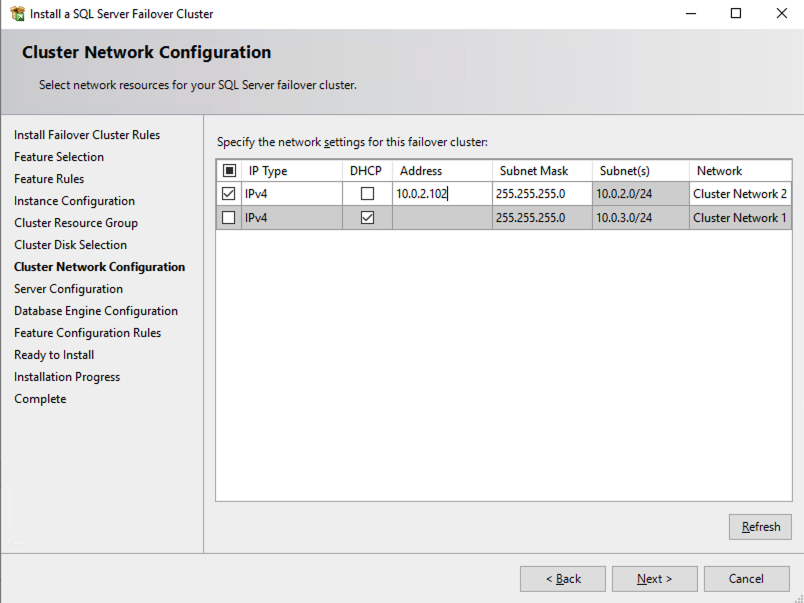
The name you specify below is the client access point. This is the name your application servers will use when they want to connect to the SQL Server FCI.
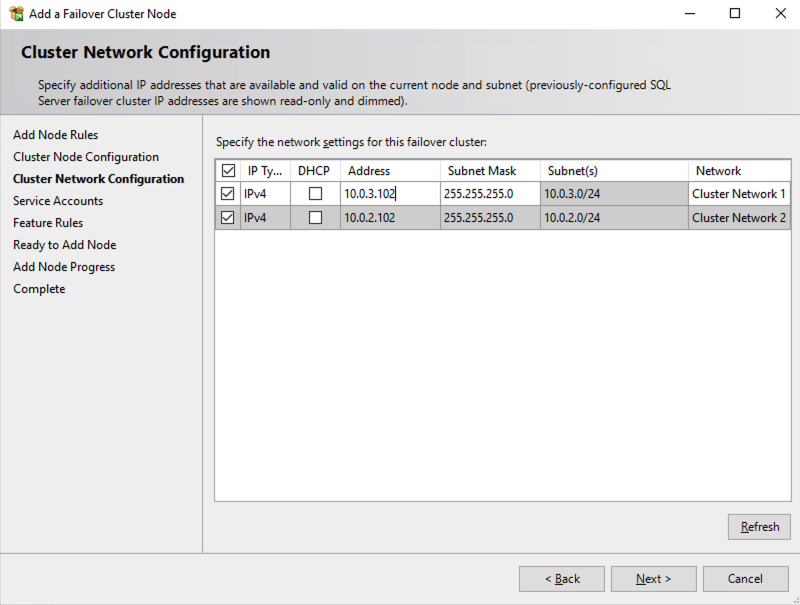
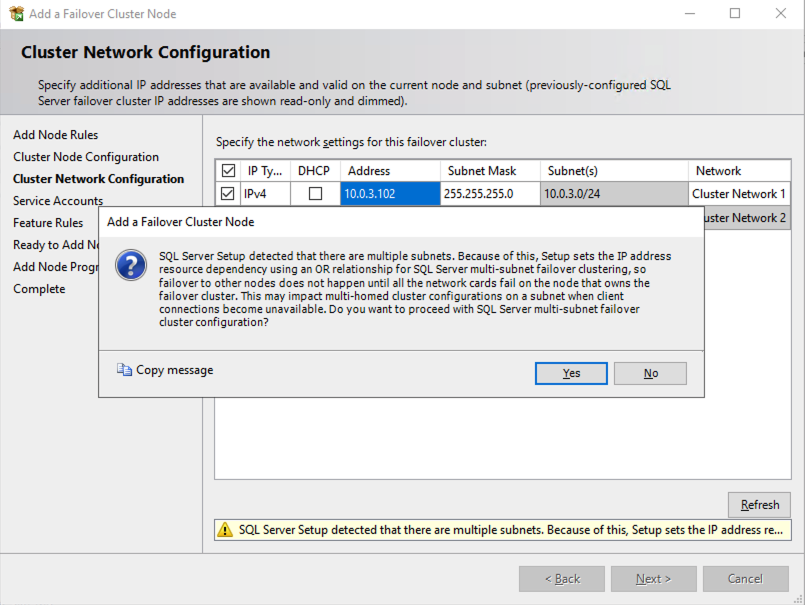
On this screen, you will add the SQL1 secondary IP address we identified earlier in the planning section of Part 1 of this series.
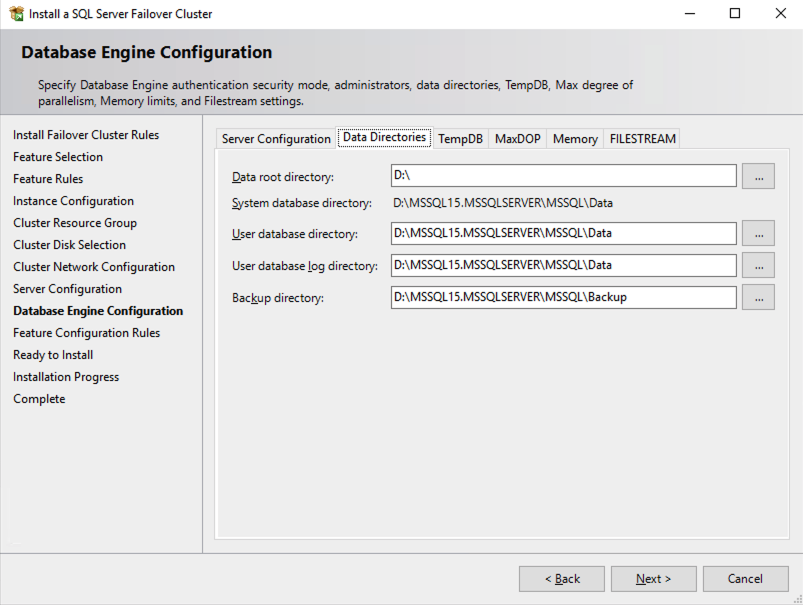
In this example, we left tempdb on the D drive. However, for best performance it is recommended that you locate tempdb on a non-replicated volume.
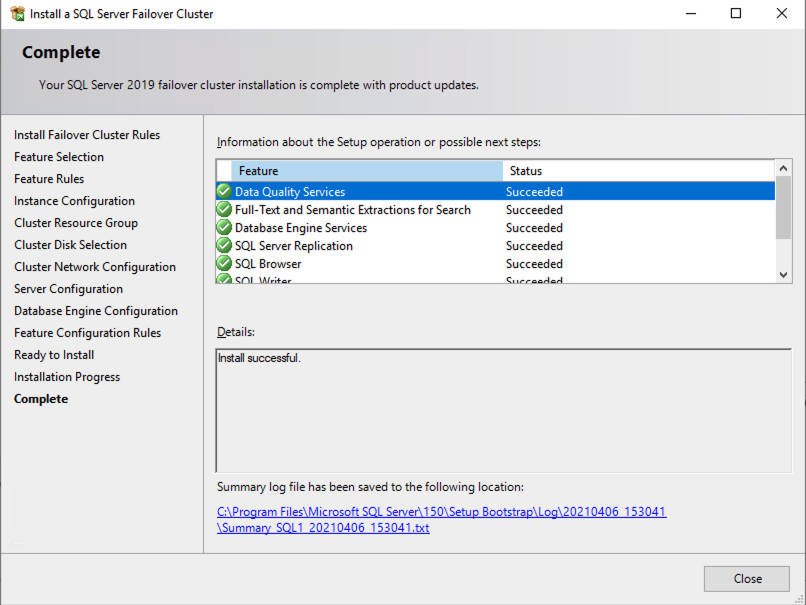
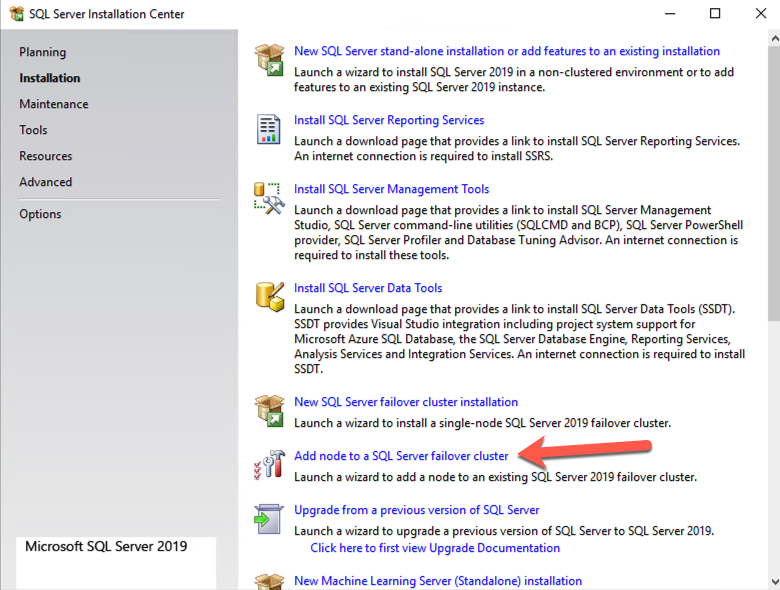
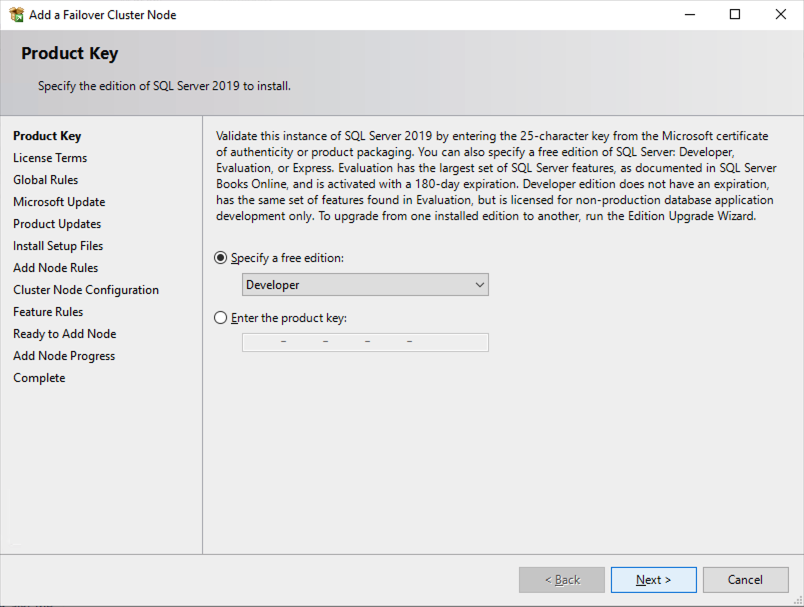
Install the Second Node of the SQL Server FCI on SQL2
It is now time to install SQL Server on SQL2.


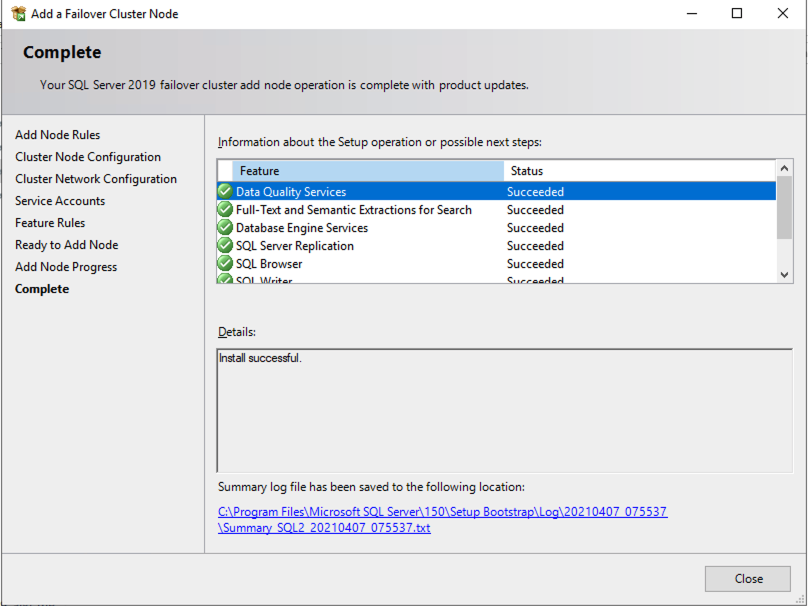
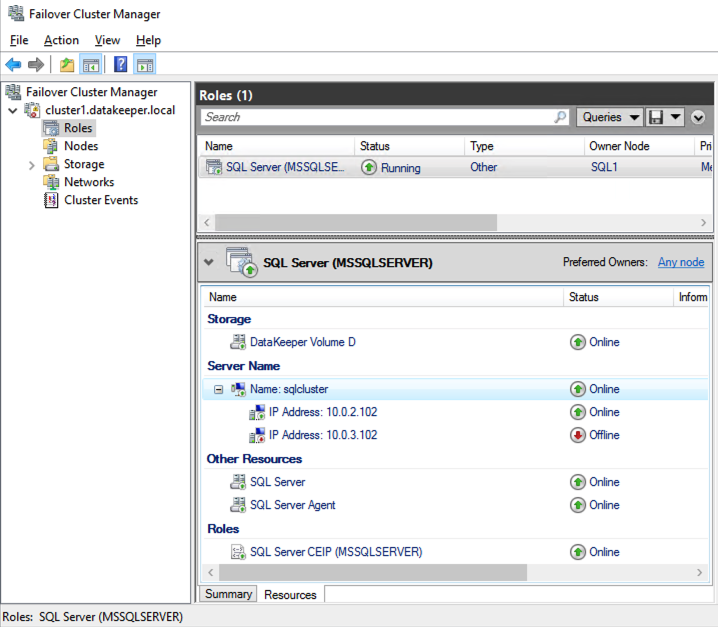
Once you have installed SQL Server on both cluster nodes, Failover Cluster Manager should look like this.
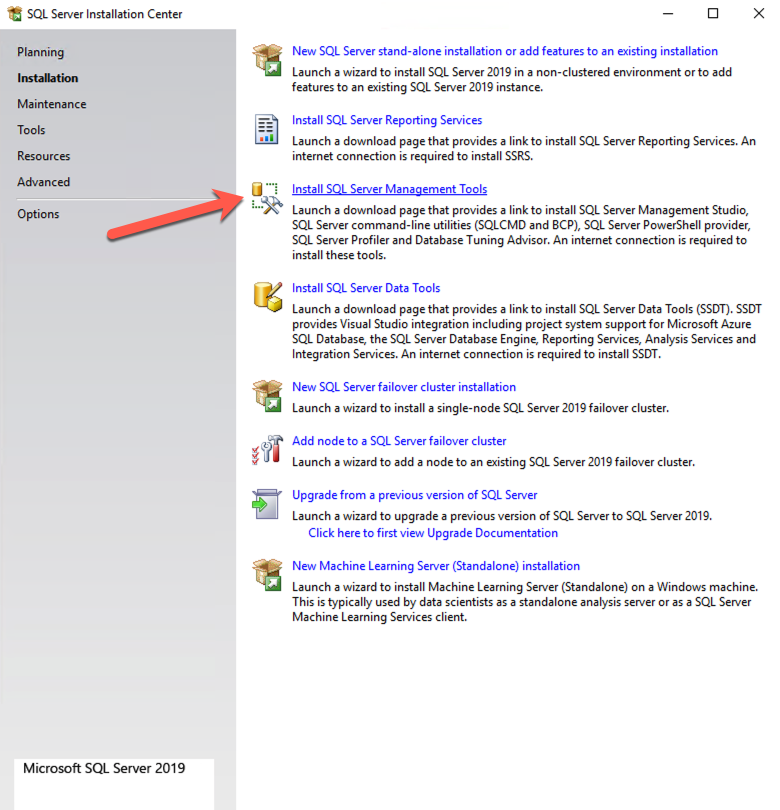
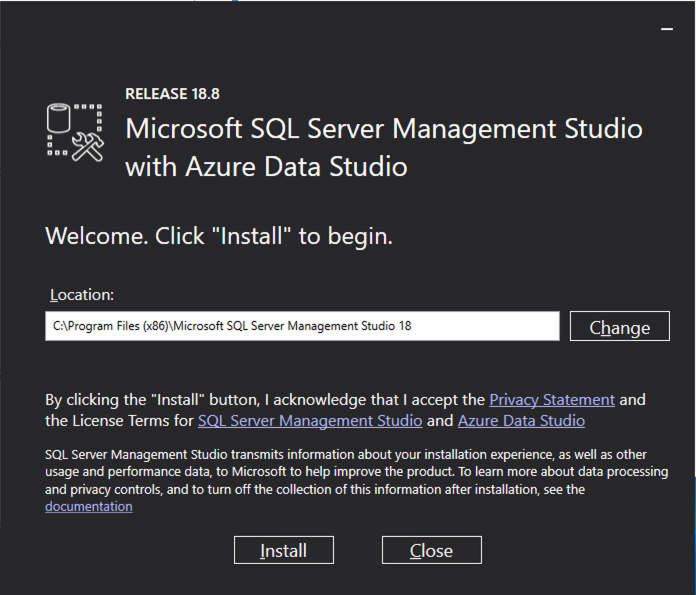
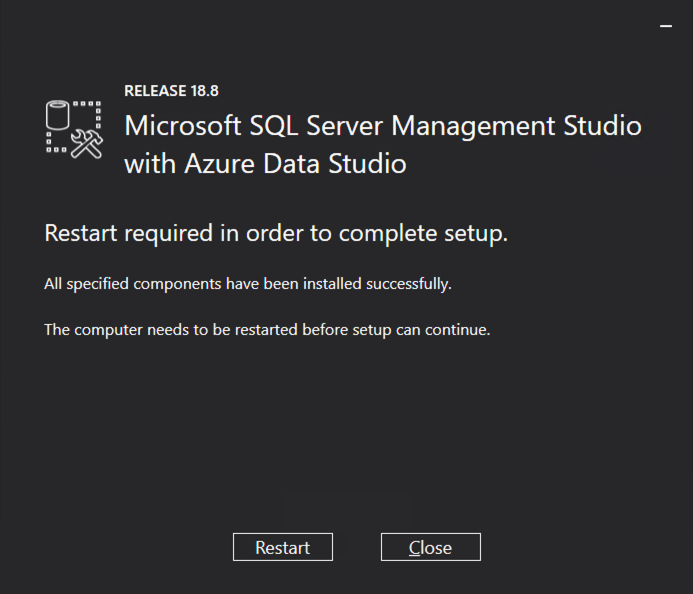
Install SQL Server Management Studio
On SQL Server Versions 2016 and later, you must download and install SSMS as a separate option as shown below. Note: In earlier versions of SQL Server, SQL Server Management Studio (SSMS) was an option that you could choose to install during the SQL installation.
Once SSMS is installed, connect to the cluster via the client access point. Your SQL Server FCI should look like this.

Multi-Subnet Considerations
One of the biggest considerations for running a SQL Server FCI in OCI is the fact that the cluster nodes reside in different subnets. Microsoft started to account for the fact that cluster nodes might reside in different subnets by adding the “OR” functionality in Windows Server 2008 R2 as described in the Microsoft documentation.
Taken from SQL Server Multi-Subnet Clustering (SQL Server)
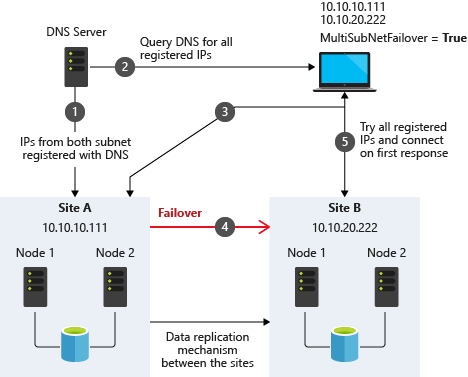
The important thing described in the documentation is the concept of the RegisterAllProvidersIP on the network name resource, which is enabled by default when you create a SQL Server FCI. As described, when this is enabled, two A records will be registered in DNS with the network name resource, one for each IP address.
Using the “OR” functionality, only the IP address associated with the active subnet will ever be online and the other one will be shown as offline. If your client supports adding multisubnetfailover=true to the connection string, then both IP addresses will be tried at the same time and the client will automatically connect to the active node. That is the easiest, and the default method of client redirection in a multi-subnet cluster.
The documentation goes on to say that if your client does NOT support the multisubnetfailover=true functionality, that you should “try to adjust the connection timeout in the client connection string by 21 seconds for each additional IP address. This ensures that the client’s reconnection attempt does not timeout before it is able to cycle through all IP addresses in your multi-subnet FCI.”
Disabling RegisterAllProvidersIP is another option that will work. By disabling the RegisterAllProvidersIP you will only have a single A record in DNS. The DNS A record will be updated each time the cluster fails over with the active cluster IP address associated with the name resource.
The downside of this scenario configuration is that your clients will cache the old IP address until the time to live (TTL) expires. To minimize the delay in reconnection, it is recommended that you change the TTL on the name resource. This process is described here and an example is shown below that sets the TTL to 5 minutes.
Get-ClusterResource -Name sqlcluster | Set-ClusterParameter -Name HostRecordTTL -Value 300
Keep in mind that it also may take some time for the changes to your AD-integrated DNS server to propagate across your entire forest.
Post your comment on this topic.